Since
Rose and
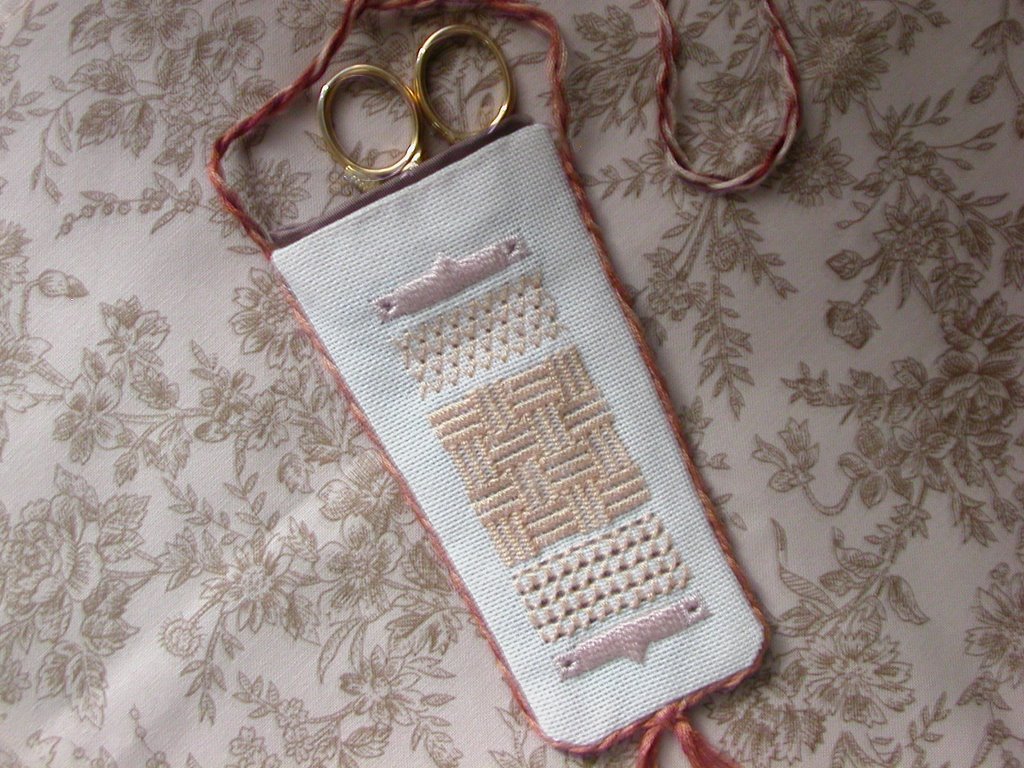
Nik is gonna SAL on this real soon, I thought I'd up the tutorial real quick :)

Gather the following:
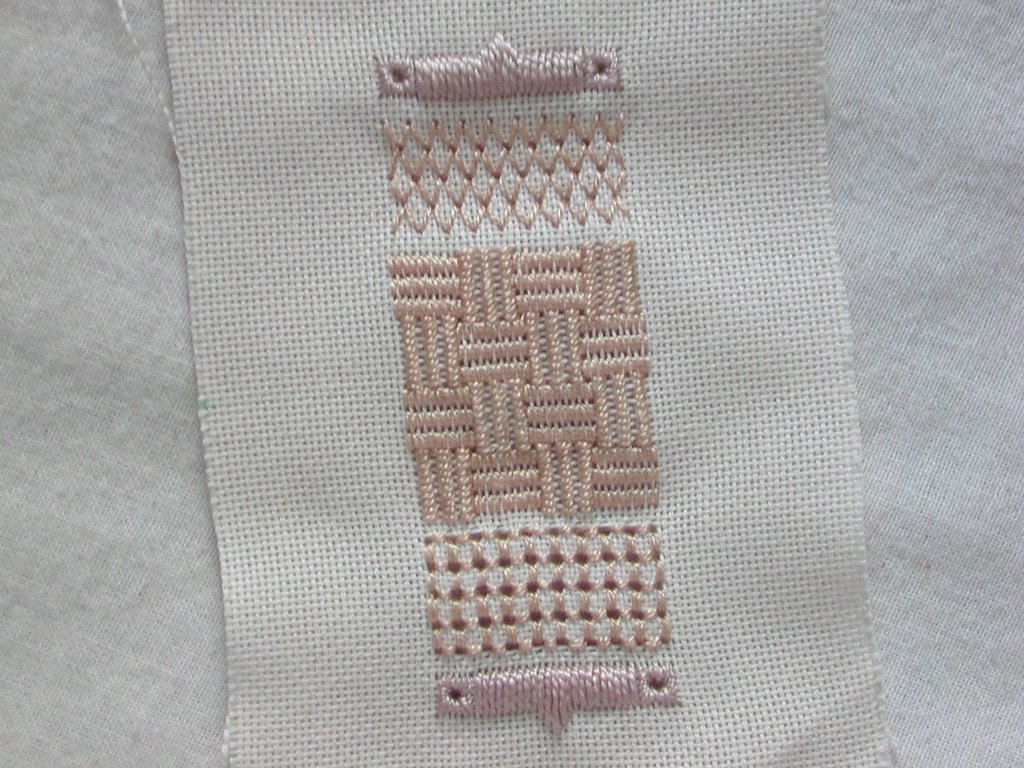
1. Your stitching on a fabric the zie of 5" x 5 1/2" (inclusive of seam allowance)
2. Backing fabric of the same size
3. Interface, 2 pieces of the same size
4. Bias binding, colour that you wish about 20" strip
5. Cord, thickness that you wish about 22" strip
6. Ribbon, colour that you wish about 14"

Iron the interface to the back of the stitched piece and the backing piece
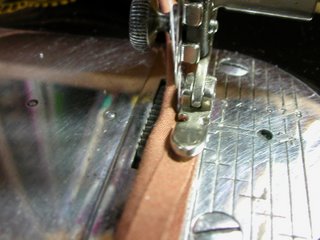
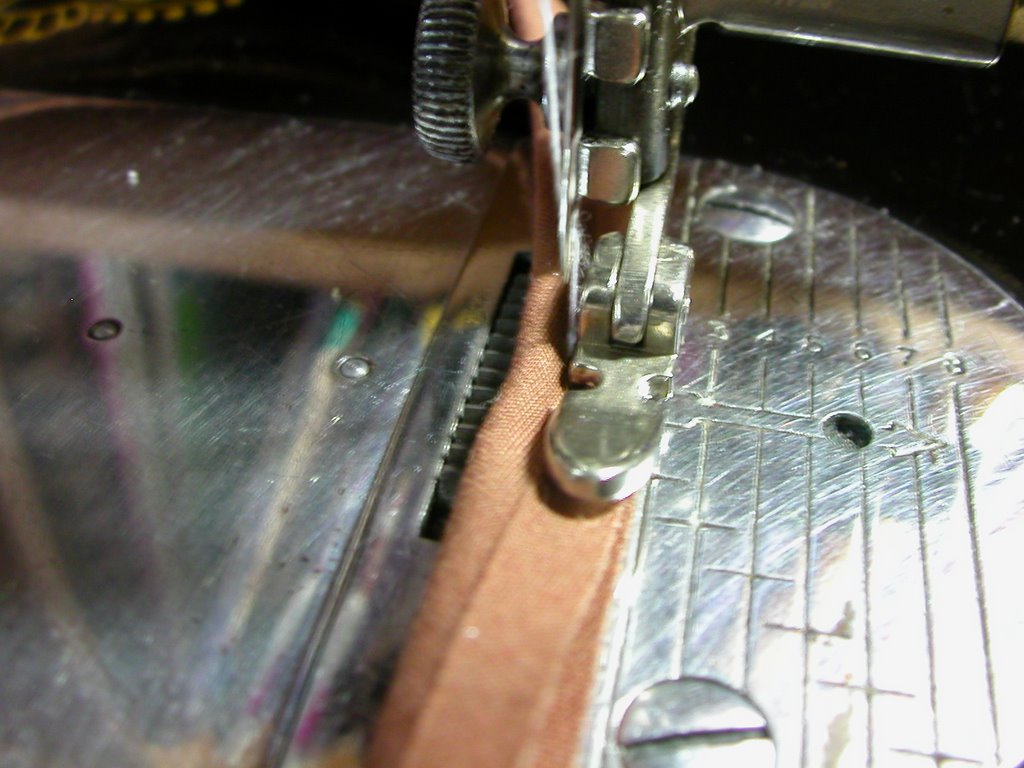
Use the zipper footer and sew the cord against the centre of the binding, effectively wrapping the cord with binding. You could hand stitch if you prefer.

Bevel/Trim the top corners of both the stitched piece and the backing piece

Sew or hand stitched the corded binding, on to 3 sides of the right side of the stitching. Then turn up the bottom side and stich the binding neatly behind the stitched piece. Turn up and stitch the backing piece also.
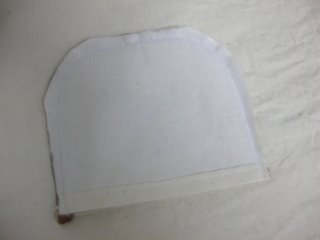
Then sew or hand stitched the backing piece with right sides facing. Omit sewing a short strip of 1/2" at the top centre of the backing piece. This is for the ribbon to pull through.

Turn the piece inside out.

Tie the ribbon to a loop and pull through the opening at the top.
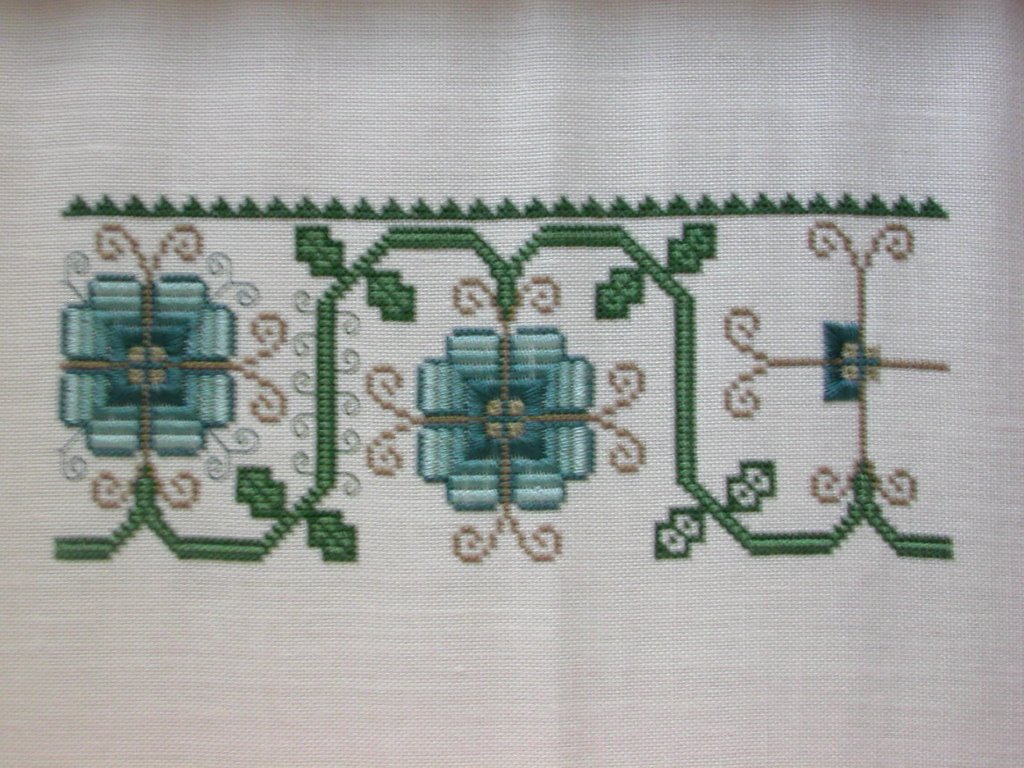
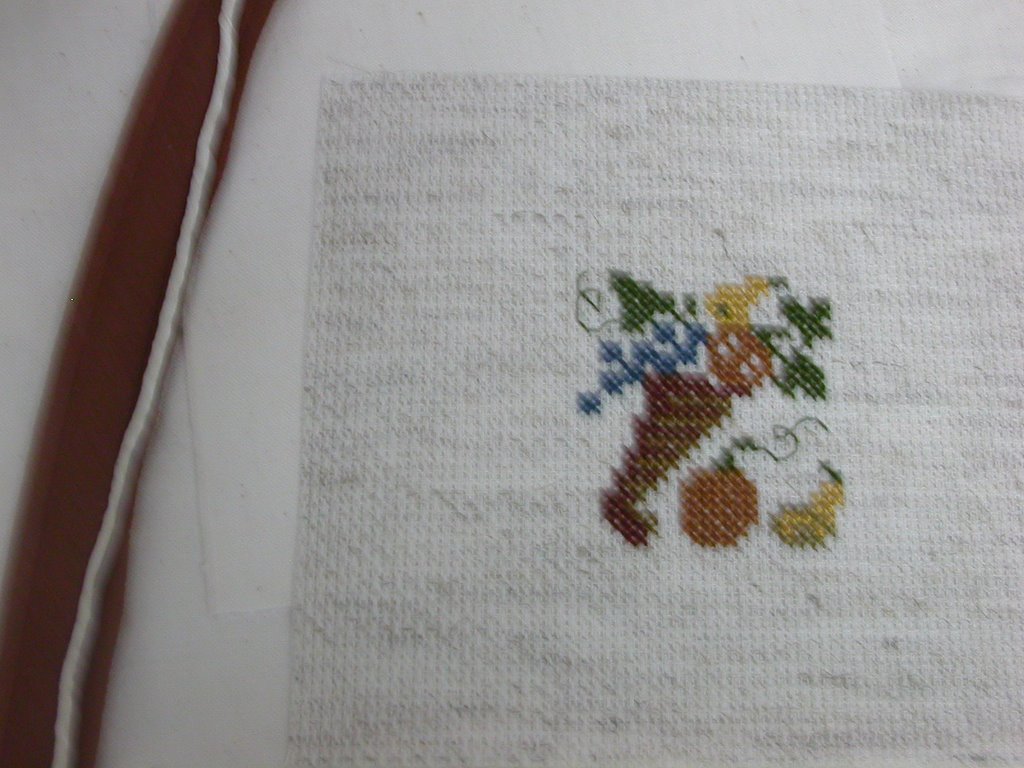
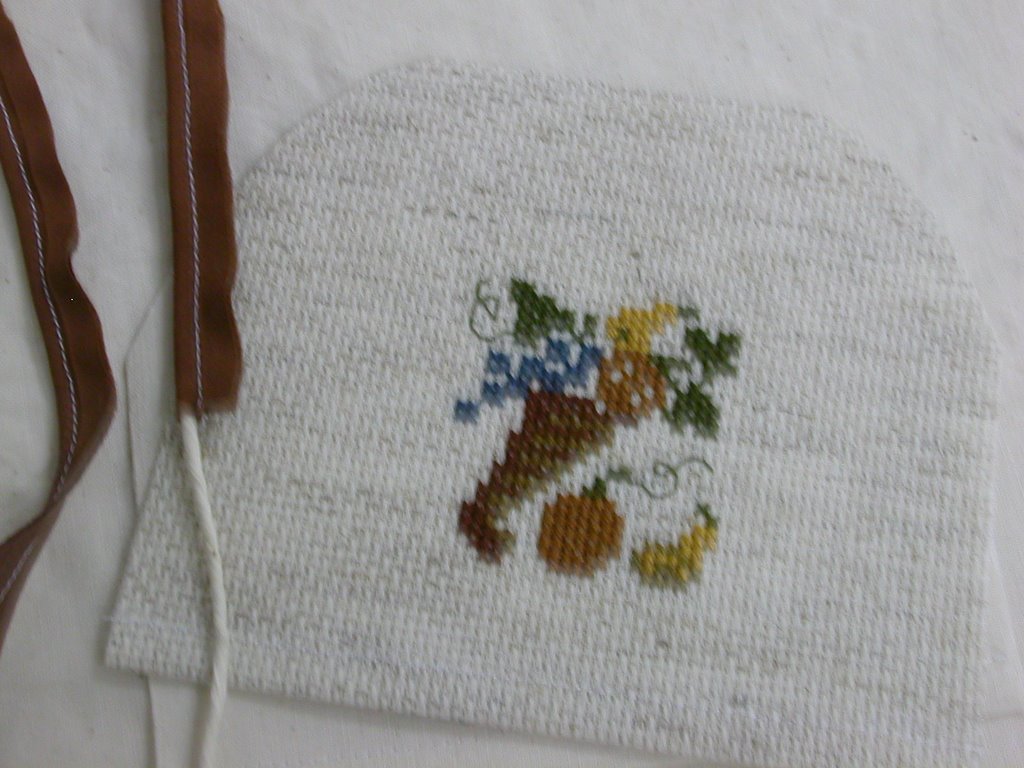
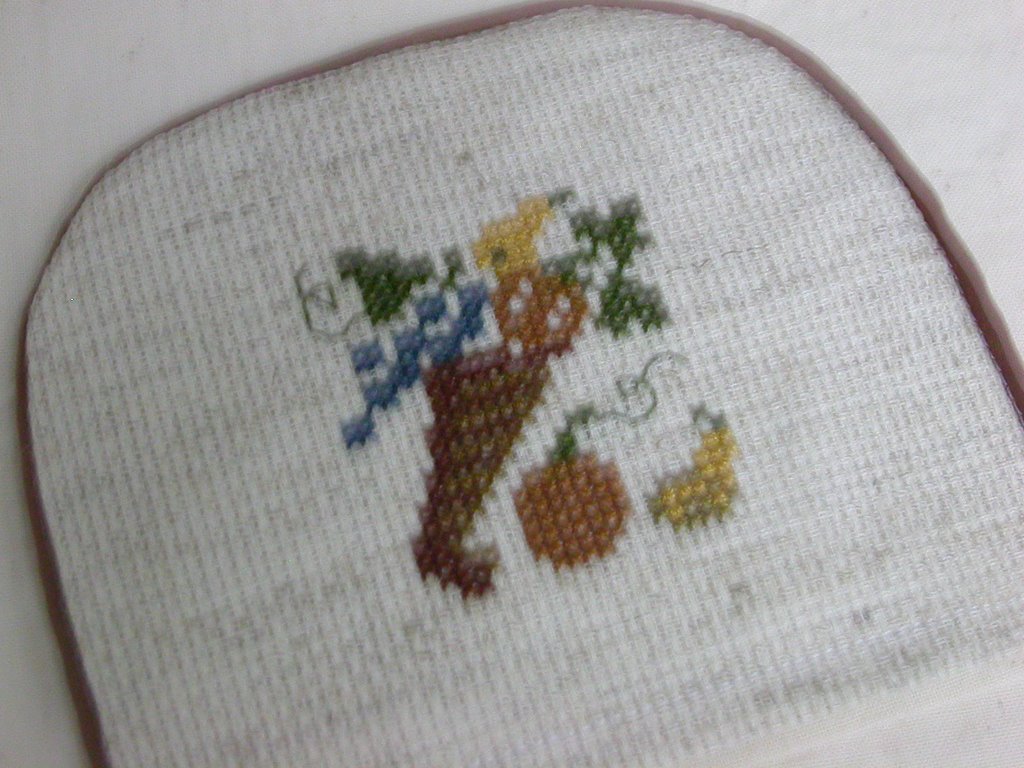
 Towel Topper
Design by Prarie Schooler - Cornucopia (freebie)
Stitched on 14ct Rustico with DMC ThreadsBunch the towel through the ribbon and stuff it into the topper to fill it up. And that's it, you have a towel topper!
Sorry about the quality of some pics, if you have any questions please comment and I'll get back to you in the comments section itself.
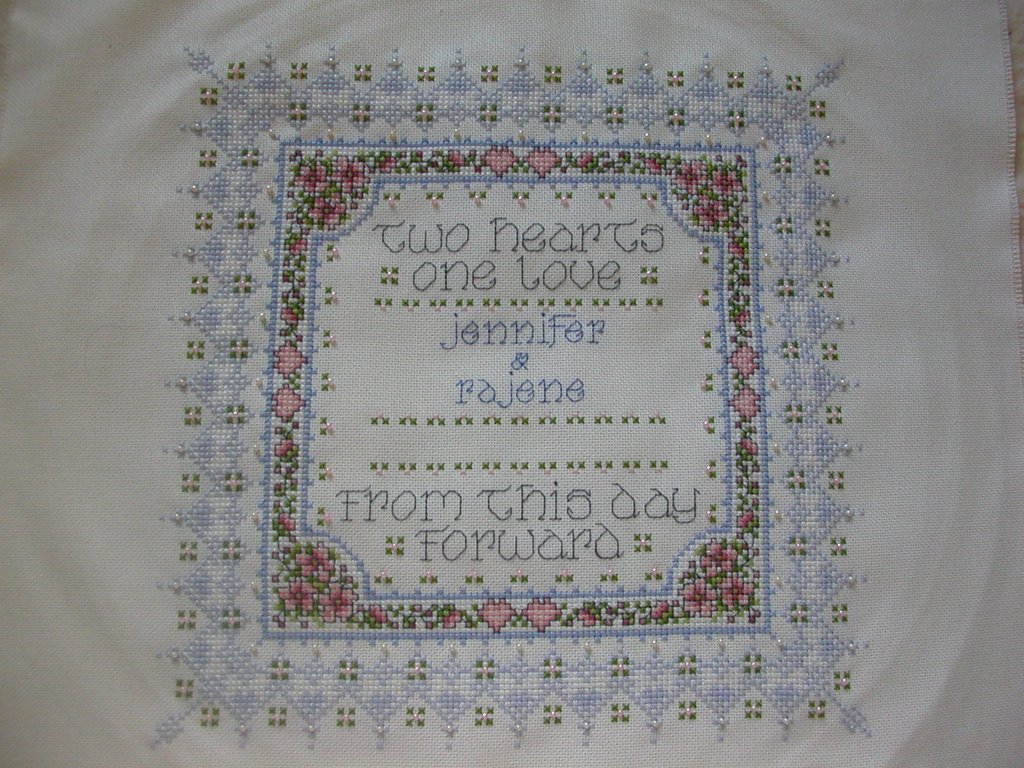
Comment Notes: WRT to the wedding sampler, I've decided to unpick and stitch it again, not too much trouble. June is right, it's an optical illusion. I thought I'd get it right. Thanks everyone for your opinions, appreciate every one of them.
 I was inspired by Vonna because she was stitching The Needleworker by LHN. And I thought I better get a start on A Stitcher's Prayer also by LHN. However I am not as adventurous as Vonna is, changing the words and all :)